If you’ve been dreaming of a new patio, walkway, or seating area, DIY – How to Lay Pavers is probably at the top of your search list. The good news? With the right tools, a bit of planning, and some elbow grease, you can absolutely install pavers yourself and get a clean, professional-looking result without paying contractor prices.
This guide walks you through the entire process—from planning and excavation to compacting, edging, and finishing—so you know exactly what to expect before you ever pick up a shovel.
Contents
- 1 Before You Start: Plan Your Paver Project
- 2 Tools and Materials You’ll Need
- 3 Step 1: Mark and Layout the Area
- 4 Step 2: Excavate the Base
- 5 Step 3: Install the Base Material
- 6 Step 4: Add the Bedding Sand Layer
- 7 Step 5: Lay the Pavers
- 8 Step 6: Cut Pavers to Fit
- 9 Step 7: Install Paver Edging
- 10 Step 8: Compact the Pavers and Add Joint Sand
- 11 Step 9: Clean Up and Enjoy Your New Space
- 12 Common DIY Paver Mistakes to Avoid
- 13 FAQ: DIY – How to Lay Pavers
Before You Start: Plan Your Paver Project
Every successful DIY paver project starts with a solid plan. Rushing into installation is how you end up with uneven pavers, puddling water, or a patio that shifts over time.
- Choose your project area: Patio, walkway, fire pit surround, driveway extension, or pool area.
- Measure carefully: Length × width to figure total square footage. Add 5–10% extra for cuts and waste.
- Pick your paver style: Concrete, brick, or natural stone in patterns like running bond, herringbone, or basketweave.
- Check local requirements: Call before you dig, and check if permits or HOA approvals are needed.
- Plan drainage: Your finished surface should slope away from the house about 1/4″ per foot.
Tools and Materials You’ll Need
Gather everything before you start. Running to the store mid-project usually leads to shortcuts and mistakes.
Basic Tools
- Shovel and spade
- Wheelbarrow
- Rake
- Rubber mallet
- 4 ft level and small torpedo level
- String line and stakes
- Measuring tape
- Hand tamper or plate compactor (rented)
- Concrete/brick saw or angle grinder with masonry blade (for cuts)
- Broom
Materials
- Pavers (plus 5–10% extra)
- Gravel/road base (often called Class 5, road base, or crushed rock)
- Washed concrete sand or paver sand (for the bedding layer)
- Polymeric sand (for filling joints)
- Paver edging (plastic, aluminum, or concrete edge restraint)
- Spikes or stakes for edging
- Landscape fabric (optional, for weed suppression)
Safety Gear
- Work gloves
- Safety glasses
- Hearing protection (for saw use)
- Dust mask when cutting pavers
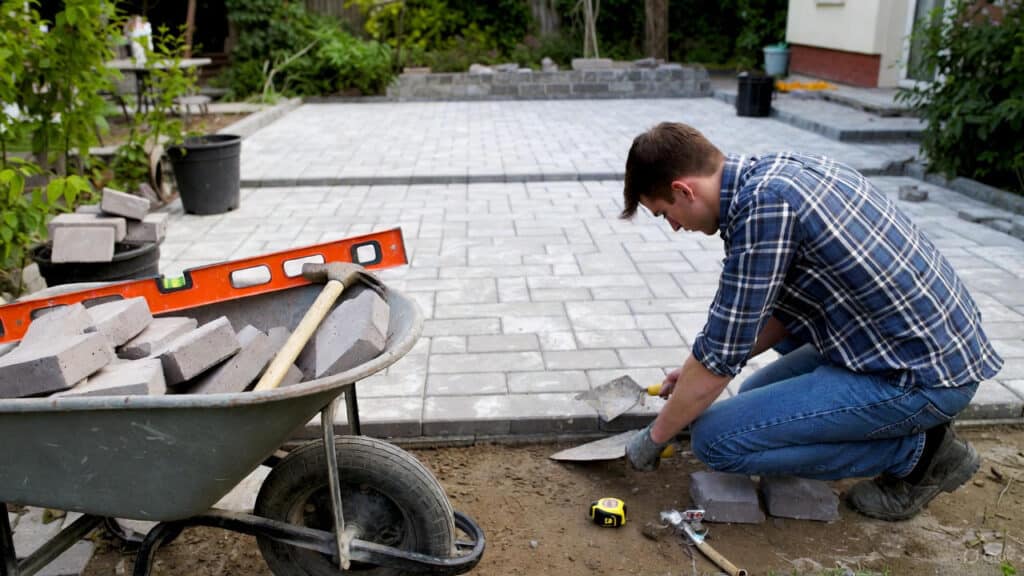
Step 1: Mark and Layout the Area
Start by outlining your paver project so you can visualize the final shape and size.
- Mark the perimeter using stakes and string, or a garden hose for curves.
- Set your string lines to show the finished height and slope. Remember to slope away from the house or structures.
- Check heights relative to doors, steps, and existing surfaces so you don’t block access or create trip hazards.
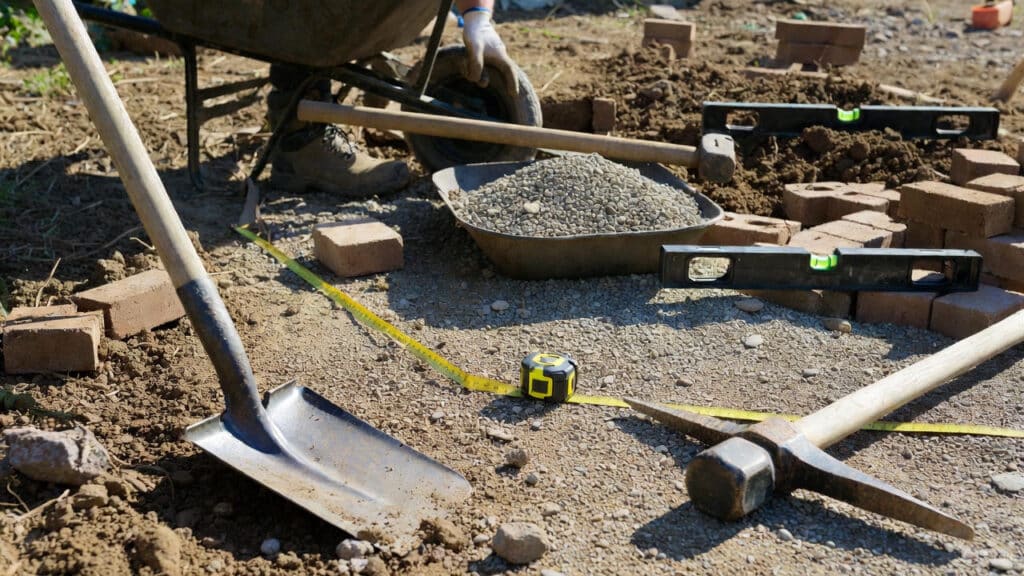
Step 2: Excavate the Base
This is the step most DIYers underestimate. A strong, compacted base is what keeps your pavers from sinking, shifting, or becoming uneven over time.
How deep to dig?
- Walkways & patios: Usually 6–8″ below finished height (4–6″ base + 1″ sand + paver thickness).
- Driveways: Often 10–12″ or more, depending on climate and soil.
- Remove sod, roots, and loose soil to the required depth.
- Roughly shape the slope while you dig so water will drain properly later.
- Use a hand tamper or plate compactor to compact the exposed subsoil.
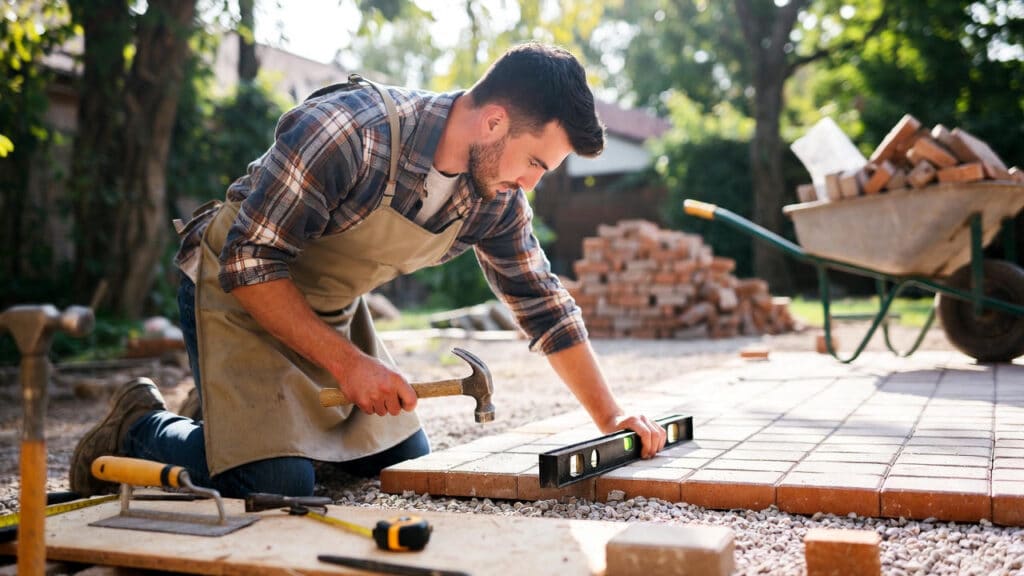
Step 3: Install the Base Material
The gravel or road base is the backbone of your entire project. Take your time here—it’s worth it.
- Add base in layers of 2–3″ at a time instead of dumping it all at once.
- Compact each layer with a plate compactor. Go over the entire surface multiple times in different directions.
- Maintain your slope as you build up the base. Check with a level and string line often.
- Finish height should be one paver thickness + about 1″ of sand below your final string line.
If you’re concerned about weeds, this is also the stage to add landscape fabric under the base material.
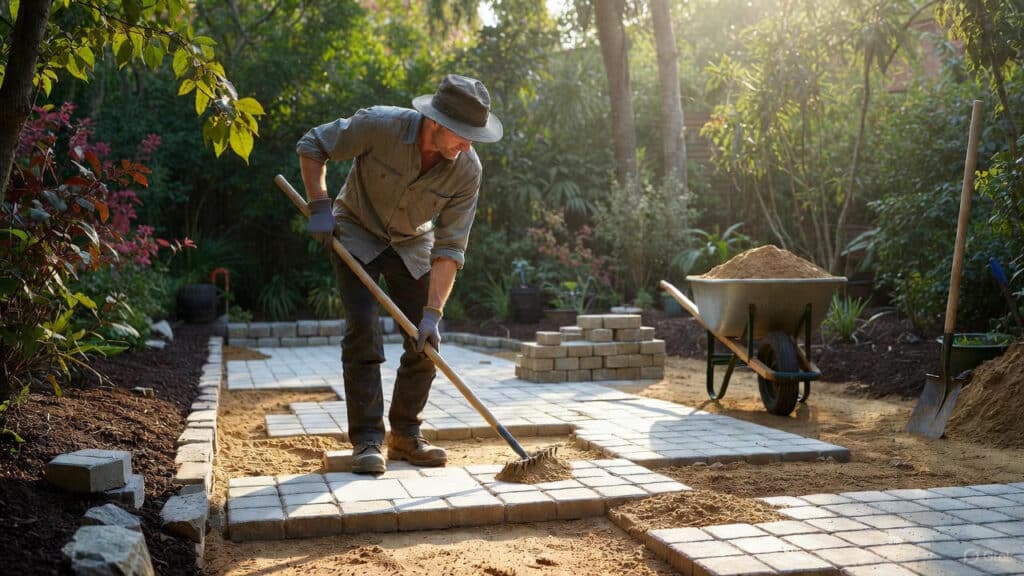
Step 4: Add the Bedding Sand Layer
The sand layer lets you fine-tune the surface and gives each paver a stable bed.
- Spread about 1″ of washed concrete sand or paver sand over the compacted base.
- Use two pieces of straight pipe or screed rails set in the sand, then drag a straight board across to level.
- Fill in low spots and rescreed as needed. Don’t walk on the sand once it’s smooth.
Tip: Avoid exceeding 1–1.5″ of bedding sand—too thick and it can shift under load.
Step 5: Lay the Pavers
This is where your project starts to look real. Work carefully and keep things consistent.
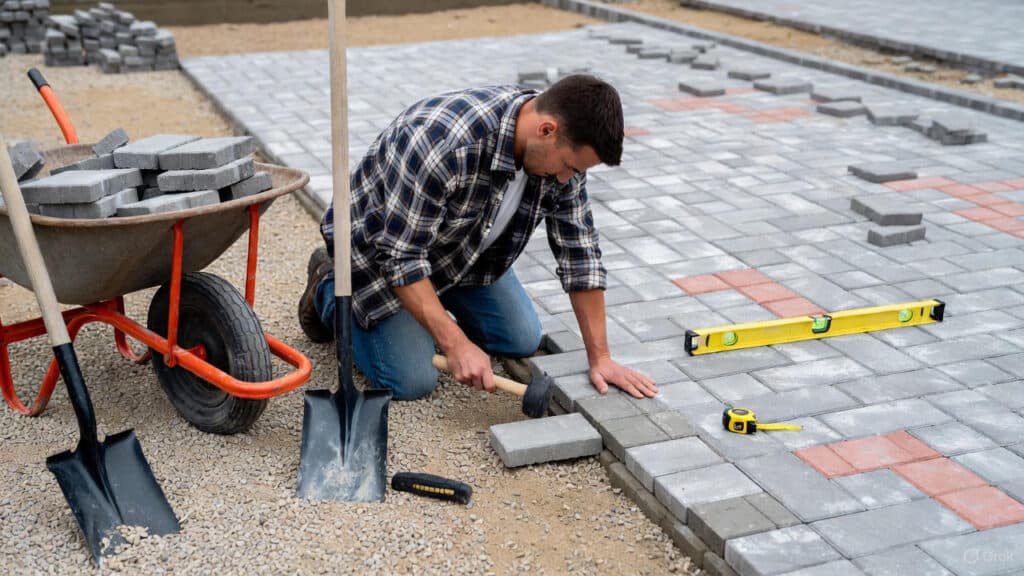
- Start from a straight edge, such as along the house or a fixed border, so your pattern doesn’t drift.
- Lay one paver at a time, setting it gently on the sand and pressing it into place.
- Maintain even joints between pavers—usually around 1/8″–3/16″ depending on style.
- Use a rubber mallet to tap each paver into position and ensure it sits flat and level with its neighbors.
- Check alignment and pattern frequently with a straight board and string lines.
Step 6: Cut Pavers to Fit
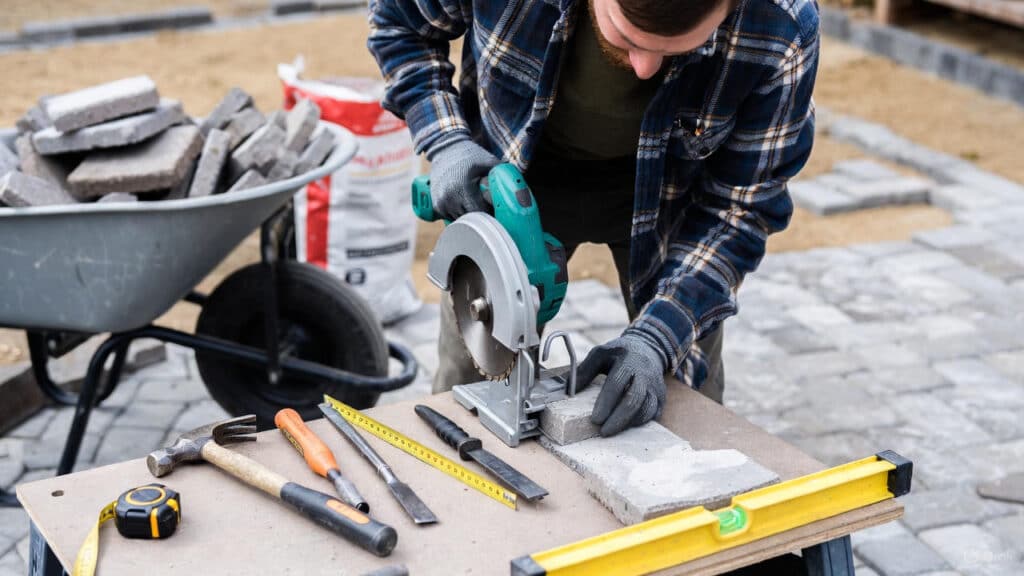
Unless your project is a perfect rectangle that matches your paver dimensions, you’ll need to cut pieces to fit along edges and curves.
- Mark cuts with a pencil or chalk.
- Use a masonry saw or angle grinder with a diamond blade for clean cuts.
- Always wear safety glasses, hearing protection, and a dust mask when cutting.
- Place cut pieces in position and tap gently with the mallet to seat them.
Step 7: Install Paver Edging
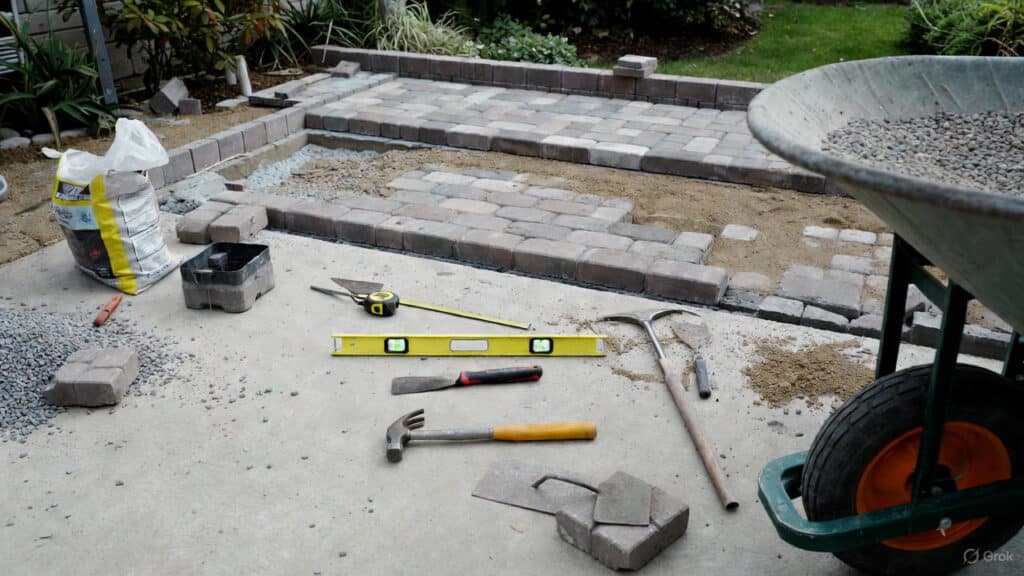
Edging (also called edge restraint) keeps everything locked together, especially along the outside perimeter.
- Place paver edging snugly against the outer pavers, following the shape of your design.
- Secure edging with spikes, typically every 8–12″.
- For curved areas, cut the edging or use flexible edging designed for curves.
Skipping edging is one of the biggest mistakes in DIY paver work—it almost guarantees spreading and shifting over time.
Step 8: Compact the Pavers and Add Joint Sand
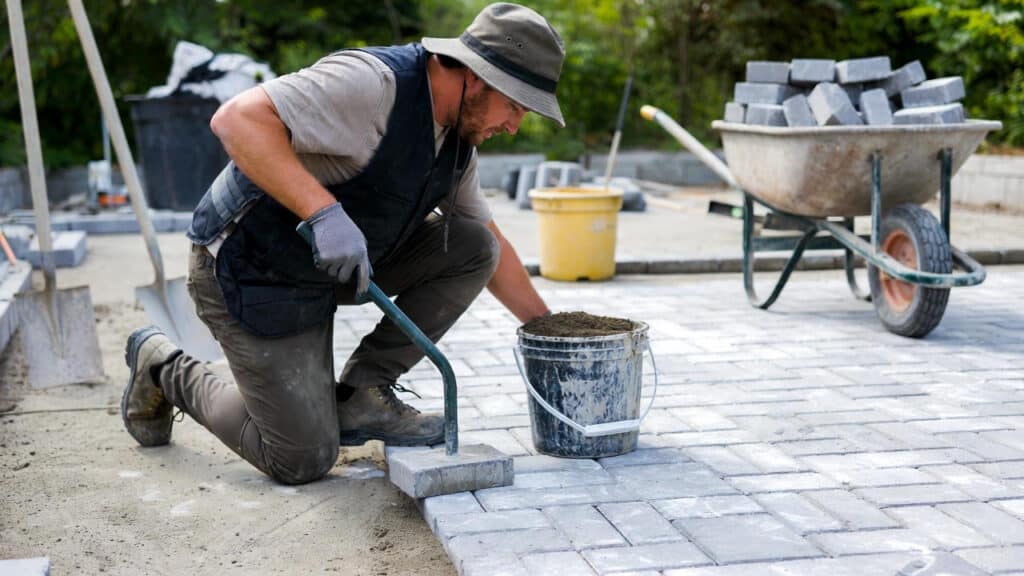
- Once all your pavers and edging are in place, it’s time to lock everything together.
- Sweep sand over the surface to begin filling the joints.
- Use a plate compactor with a protective pad (or a thick rubber mat) to compact the pavers into the bedding sand. Run it in multiple directions.
- Resweep sand into the joints, then compact again. Repeat until joints are fully filled.
- For a long-lasting finish, use polymeric sand according to the manufacturer’s instructions (usually sweep in, blow off excess, and lightly mist with water).
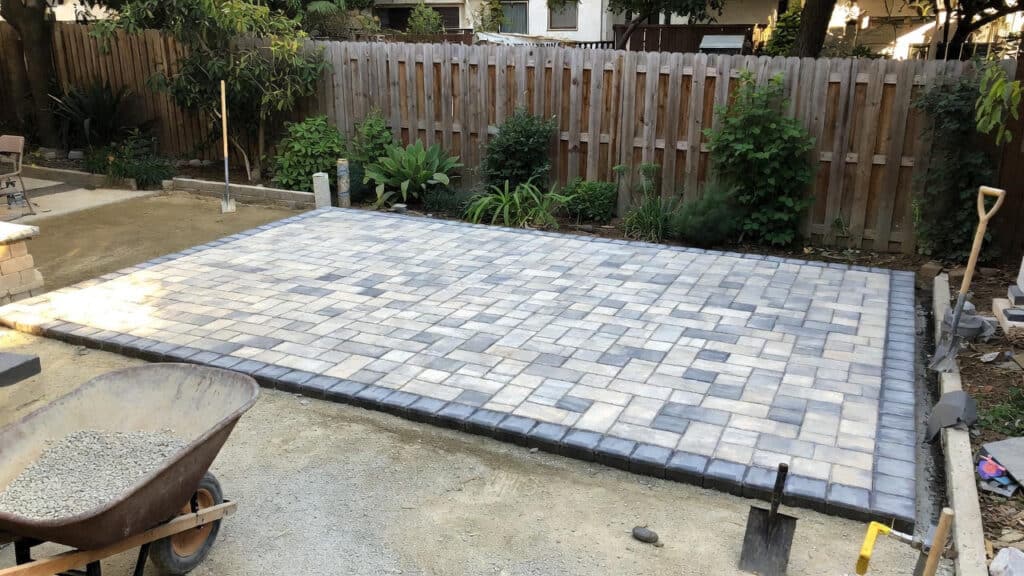
Step 9: Clean Up and Enjoy Your New Space
Brush off remaining dust, rinse surfaces if needed, and clean up extra materials. At this point, you’ll have a solid, attractive paver surface you can actually enjoy—whether it’s for morning coffee, backyard barbecues, or a clean walkway to your front door.
Common DIY Paver Mistakes to Avoid
Even a well-intentioned project can go sideways if you miss a few key details. Here are the big ones to avoid:
- Not digging deep enough: A thin base is the fastest way to uneven pavers.
- Poor compaction: If the soil or base isn’t compacted properly, everything above it will move.
- No slope: Without proper slope, you’ll get puddles and potential damage from standing water.
- Skipping edging: No edge restraint means your pavers will slowly spread apart.
- Using the wrong sand: Play sand doesn’t compact well. Stick with paver or concrete sand.
FAQ: DIY – How to Lay Pavers
Can a beginner really lay pavers?
Yes. It’s labor-intensive, but the steps are straightforward. If you can follow directions, take your time with the base, and use the right tools, you can get a professional-looking result.
How long does it take to lay pavers?
For a typical small patio or walkway, expect one weekend for excavation and base work and another day for laying pavers, cuts, and finishing. Larger projects may take several weekends.
What’s the most important part of laying pavers?
The base. Proper excavation, base depth, and compaction matter more than anything else. A strong base is what keeps your pavers flat and even long term.
Do I need to seal my pavers?
Sealing is optional but can help enhance color, reduce staining, and make cleaning easier. If you choose to seal, wait until the project is fully settled and dry, and follow the sealer manufacturer’s recommendations.
Can I lay pavers directly on dirt?
It’s not recommended. Laying pavers directly on dirt almost always results in sinking, shifting, and weed issues. A proper base and sand layer are key to a durable installation.
With careful planning, attention to detail, and a willingness to do the groundwork, your DIY paver project can look like it was installed by a pro—and last for years to come.
