Living in Gilbert, you know that our Backyards are practically a second living room, at least when the sun isn’t actively trying to melt us. But staring at a patch of dirt or cracked concrete while dreaming of a resort-style oasis can be discouraging when you’re watching your wallet. The good news is that transforming your outdoor space doesn’t require winning the lottery; it just takes a bit of planning and some honest creativity.
Contents
- 1 Let’s Talk Money (Without the Panic)
- 2 The “Refresh” Tier: Big Impact, Small Change
- 3 The Mid-Range: Where Most Homeowners Live
- 4 The High-End: Travertine and Outdoor Living
- 5 Materials Cheat Sheet
- 6 Design Tricks That Cost Nothing
- 7 The “Hidden” Costs You Need to Know About
- 8 Making the Most of Small Spaces
- 9 DIY vs. Hiring a Pro
- 10 Bringing It All Together
- 11 Ready to Transform Your Backyard?
Let’s Talk Money (Without the Panic)
Here’s the thing about patio design: it’s easy to get sticker shock. You hop on Pinterest, see a sprawling multi-level travertine deck with a built-in pizza oven, and suddenly your bank account starts weeping. But effective design isn’t about how much you spend; it’s about how you use the space.
Honestly, I’ve seen fifty-thousand-dollar patios that look sterile, and I’ve seen three-thousand-dollar refreshes that feel cozy and inviting. It comes down to material selection and functional layout. Whether you are working with a “DIY weekend” budget or a “full renovation” fund, the principles of hardscaping remain the same: stability, drainage, and aesthetics.
We usually break budgets down into three tiers:
- The Refresh (Economy)
- The Expansion (Mid-Range)
- The Overhaul (High-End)
You don’t have to pick just one lane, either. Sometimes it makes sense to mix high-end materials in small focal points while saving money on the perimeter.
The “Refresh” Tier: Big Impact, Small Change
So, you have a tight budget. Maybe you just bought a new build in Gilbert and the builder left you with a postage-stamp concrete slab and a lot of dirt. Or maybe you’re just tired of looking at weeds.
You don’t need to pour a massive new foundation to make it look good.
- Gravel and Paver Combinations: This is huge in Arizona right now. instead of paving the entire area, use large format steppers (big concrete squares) and fill the gaps with river rock or black basalt. It cuts down on material costs significantly because you aren’t paying for a solid surface, and it helps with drainage during monsoon season.
- Edging is Everything: Sometimes, the patio is fine, but the edges look ragged. Installing a clean paver border (we call it a sailor course or soldier course) around an existing space can define the area.
- Bistro Lighting: Never underestimate the power of string lights. They distract the eye from imperfections on the ground and draw the focus upward.
And you know what? There is no shame in starting small. A simple 10×10 paver pad for a grill and two chairs is better than a muddy yard.
The Mid-Range: Where Most Homeowners Live
This is where things get fun. You have enough budget to do some real hardscaping, but you aren’t looking to reconstruct the Biltmore.
In this tier, we usually move away from standard grey concrete and start looking at interlocking concrete pavers. Why? Because poured concrete cracks. In Gilbert, the ground shifts. It expands and contracts with the heat. Pavers are designed to “float” on a bed of sand and aggregate base. If the ground moves, the pavers move with it rather than snapping in half.
The Fire Pit Feature
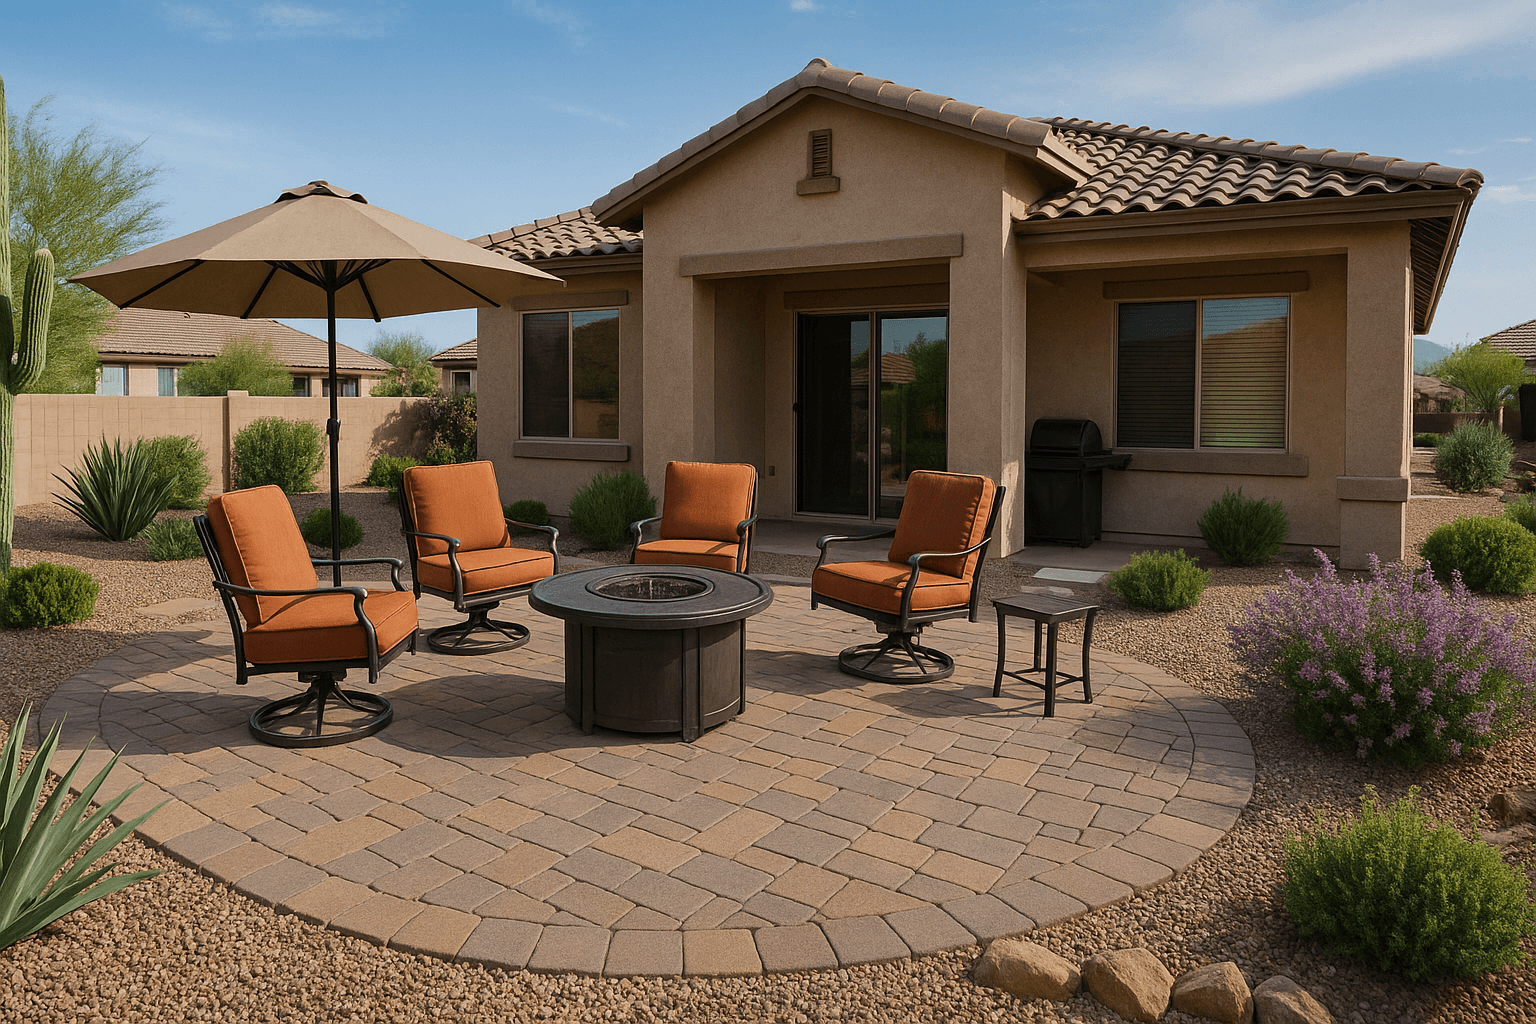
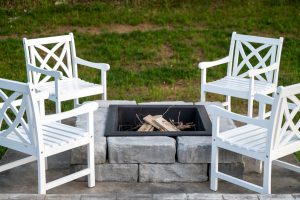
If you splurge on one thing, make it a fire pit. In Arizona, our winters are the envy of the country. A built-in paver fire pit becomes the anchor of the backyard. It extends the usability of your patio by about three hours every night.
You don’t need a gas line run (though that’s nice). A wood-burning pit lined with fire brick is cost-effective and adds that campfire smell that actually feels like nature.
Paver Rugs
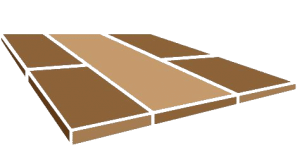
Here is a trick to make a patio look expensive without paving the whole yard. Create a “paver rug.” You use a higher-end paver (maybe a textured finish or a color blend) for the center where the table goes, and a cheaper, standard paver for the border. It creates visual interest and defines the “dining room” without walls.
The High-End: Travertine and Outdoor Living
Okay, let’s say you are ready to go all in. You want the “wow” factor. In Gilbert, that usually means one word: Travertine.
Travertine is a natural limestone formed by mineral springs. Why do we love it here? Because it stays cooler than concrete. You can actually walk on it barefoot in July without getting third-degree burns (mostly). It has that luxurious, old-world texture that artificial materials just can’t quite mimic.
At this budget level, we aren’t just building a floor; we are building an outdoor kitchen.
- The Built-In BBQ: Forget the rolling cart. We’re talking about a masonry structure topped with granite or concrete counters, housing a drop-in grill.
- Seat Walls: These are low walls around the perimeter of the patio. They act as extra seating for parties and create a sense of enclosure, making the patio feel like a true room.
- Pergolas and Shade Structures: You can’t ignore the sun. A Alumawood or solid wood pergola anchored into your new paver patio changes the game.
Materials Cheat Sheet
It can get confusing with all the industry jargon. Let me break down the pros and cons of what we typically install in the East Valley.
| Material | Cost | Heat Retention | Durability | Best For |
|---|---|---|---|---|
| Standard Concrete | Low | High | Med (Cracks) | Basic slabs, walkways |
| Concrete Pavers | Med | Med | High | Driveways, Patios, High Traffic |
| Travertine | High | Low (Stays Cool) | High | Pool Decks, Luxury Patios |
| Flagstone | High | High | Med | Rustic, Natural aesthetic |
| Porcelain Pavers | Very High | Low | Very High | Modern, Sleek looks |
Design Tricks That Cost Nothing
You don’t have to spend a dime to think about layout. Before you call anyone, grab a garden hose or a can of spray paint and outline where you think you want the patio.
Curves vs. Straight Lines:
Modern homes often look great with straight, geometric lines (rectangles, squares). It feels clean. But if you want a more natural, relaxing vibe, add some curves. A kidney-bean-shaped patio softens the look of a block-walled backyard.
Zoning:
Don’t just make one giant slab. Think about “zones.”
- Cooking Zone: Near the back door (you don’t want to carry steaks too far).
- Dining Zone: Close to the cooking zone.
- Chilling Zone: Fire pit or lounge chairs, usually pushed further out into the yard.
And please, keep the drainage in mind. You want water running away from your house foundation. It sounds boring, but slope is the most important part of the patio you’ll never notice—until it rains, and you have a moat in your living room.
The “Hidden” Costs You Need to Know About
I want to be real with you for a second. When you get a quote, there are things you don’t see that cost money. It’s not just the bricks you see on top.
It’s the excavation. We have to dig out the dirt.
It’s the base material. We have to truck in tons (literally, tons) of ABC (aggregate base course) and compact it until it’s hard as a rock.
It’s the polymeric sand. This is the special sand that goes between the joints. When it gets wet, it hardens like glue to stop weeds and ants from taking over.
If someone gives you a quote that seems suspiciously low, ask them about their sub-base preparation. If they say, “Oh, we just lay it on the dirt,” run. That patio will look like a rollercoaster in six months.
Making the Most of Small Spaces
Not everyone in Gilbert has a quarter-acre lot. Some of the newer developments have yards that feel more like courtyards.
This is actually a design advantage. Small spaces can feel intimate and high-end very easily.
- Go Vertical: Use vertical gardens or tall, thin planters to draw the eye up.
- Large Pavers: Surprisingly, using larger pavers in a small space makes it feel bigger. Small, busy patterns can make a tight space feel cluttered.
- Multi-function: A seat wall can also be a planter. A fire pit can have a cover to double as a coffee table.
DIY vs. Hiring a Pro
Look, I respect the DIY spirit. I really do. But laying pavers is back-breaking work. One pallet of pavers can weigh 3,000 pounds. And you might need five of them. Plus the gravel. Plus the sand.
The nuance of getting the screeding (leveling the sand) perfectly flat is an art form. If it’s off by a fraction of an inch, you’ll feel it every time you walk on it. And if the base isn’t compacted right, the pavers will settle, and you’ll have puddles collecting in the middle of your dinner party.
Sometimes, the budget-friendly option is actually hiring a pro because you only have to pay for it once. Fixing a botched DIY job usually costs more than doing it right the first time.
Bringing It All Together
Whether you are looking to sell your home and want to boost that curb appeal, or you plan on staying in Gilbert forever and want a place to watch the kids grow up, your patio is the foundation of that lifestyle.
It doesn’t have to be perfect to be perfect for you. Start with a budget you are comfortable with, choose materials that handle our heat, and design for how you actually live, not for how a magazine tells you to live.
Your backyard is waiting. Let’s make it something special.
Ready to Transform Your Backyard?
We know that figuring out budgets and materials can be overwhelming. At Gilbert Paver Company, we’ve helped hundreds of neighbors turn their dust bowls into dream patios, and we can help you figure out exactly what works for your wallet.
Stop dreaming about it and let’s start designing it.
Contact Us today:
- Call us at: 480-534-9680
- Or click here to Request a Free Quote


