
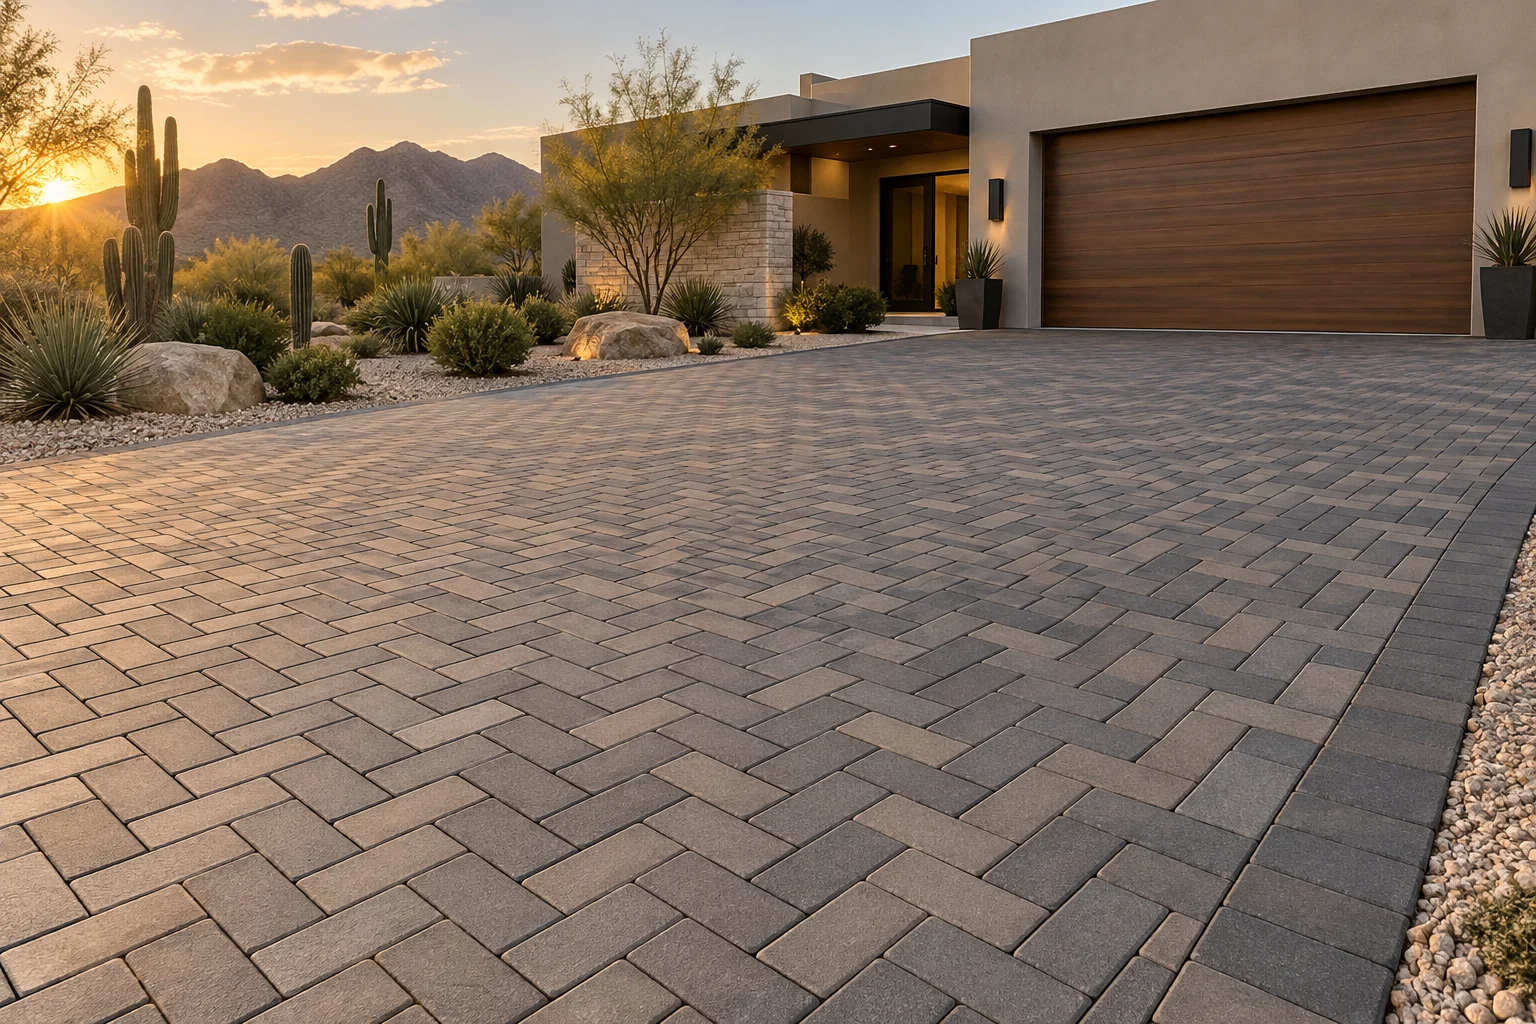
Repair
Paver Repair in Gilbert, AZ
Repair the cause, not just the visible symptom. The right fix starts with understanding why the surface moved or failed.
Consider the details
Find the cause, then choose the repair.
Repair the cause, not just the visible symptom. The right fix starts with understanding why the surface moved or failed.
Different damage needs a different repair
A broken unit, loose edge and sunken area are not interchangeable problems. Inspect the surrounding paving and underlying conditions before selecting a repair.
A close match is worth discussing early
The original product may be discontinued or weathered differently. A spare-paver supply, compatible replacement or deliberate border change may be more realistic than an invisible patch.
- Identify the original size, thickness and finish.
- Assess nearby joints and edge restraint.
- Check whether water is affecting the base.
Follow repair with the right care
Cleaning and sealing cannot correct a failed base or replace broken pavers. Stabilize the surface first, then choose suitable maintenance treatments.
Describe the defect and when it appeared
A useful repair assessment starts with the size and location of the affected area. Note whether the paving moves underfoot, holds water, separates at an edge or has broken individual units. Photograph the area dry and, if relevant, after rain. Include recent utility, irrigation or landscaping changes in the conversation. The visible defect may be small even when the underlying problem extends beyond it.
Separate replacement from resetting
Replacing a cracked unit is different from lifting a settled section and rebuilding its support. Check the bedding, base, nearby edge restraint and route taken by water before selecting the repair. The objective is to restore a suitable surface and intended drainage, not simply make a low point look flat. If adjoining sections are also moving, a broader reset may be more sensible than repeated isolated patches.
Agree on matching and finish limits
Identify the original paver's dimensions, thickness, texture and pattern. Product lines and colors change, while weathering can alter units already installed. Spare units may help; otherwise, discuss a compatible replacement or deliberate design change. Cleaning the repaired area may reveal a difference from adjoining older paving. Neither sealing nor fresh joint sand should be promised as a cure for a structural problem beneath the units.
Product and planning references
Techniseal: concrete-paver cleaning and sealing guidance ↗CMHA: concrete-paver overlay guide specification ↗
Bring the space together
Look at the whole composition: surface, architecture, planting and the places you want to spend time.
Illustrated design inspiration, not completed-project photography.Questions worth asking
Before the project begins.
Does sealing fix a cracked paver?
No. Sealing is a surface treatment. A cracked unit or underlying movement requires a repair assessment.
Can sunken pavers be lifted and reset?
Resetting may be appropriate when the cause can be addressed. Drainage, base condition and adjacent elevations determine the required scope.
Should pavers be cleaned before or after repair?
Loose, broken or settled paving should be assessed before aggressive cleaning. The final sequence depends on the repair and treatment, but cleaning should not wash out weak joints or hide the cause of movement.
Can a repair be completely invisible?
An exact visual match cannot be assumed. Replacement product availability, batch variation and weathering all affect the result. Discuss matching options and finish expectations before the work begins.
Keep exploring
Connected decisions.
A good place to begin
Make room for
something beautiful.
Share your space, your ideas and the work you have in mind. Start with a project-specific conversation.
Request a free quote